November 24, 2023 | 5 min read | By: Len Smith
I started woodworking as a hobby in 2004. At that time, I decided to enroll in some formal woodworking courses so I could begin with a solid foundation. One of the class sessions covered basic sharpening. The instructor demonstrated how to properly sharpen chisels and plane irons using Japanese waterstones. Needless to say, my fellow classmates and I quickly went out and bought some waterstones and the needed equipment. When I tried my hand at sharpening using the waterstones, it was a struggle…and it made quite a mess.
Over time, I tried a number of different sharpening techniques and products. While I was able to improve my sharpening outcomes, none of these seems to work as well as I would like. In my long struggle with sharpening, I think I have tried just about every approach out there, from traditional waterstone, to oil stones and ceramic and glass stones. I even tried powered sharpeners like the Tormek, which I will admit was pretty cool. I am in denial about how much this all cost. It wasn’t that I couldn’t get an edge, I could. Not the best, but it worked. For me, sharpening became an unwelcome task.
A good friend of mine suggested that reconsider trying the Scary-Sharp™ method, but this time with a twist. I tried this approach before but returned to the use of stones because it was old school. The twist was using a product from 3M called “Lapping Films.” This was a game-changer for him. I did and he was right. This article is about my experiences using the Scary-Sharp™ method in conjunction with lapping film.
Scary-Sharp™ is a method of sharpening that uses an abrasive film or sandpaper in place of sharpening stones (e.g., waterstones, oilstones, ceramic or glass stones, etc.). In this approach, various grits of abrasive paper are affixed to a stable and dead-flat surface, typically float glass, and are used with a lubricant to support the sharpening process. Many folks feel that in using this method, one can easily achieve a superior edge on a chisel or plane blade for less cost than more traditional methods.
The origins of this method appear to date back to 1994, when David Opincairne and Steve LaMantia took the time to document the process so it could be posted on a woodworkers forum. It’s reasonable to assume that the actual technique had been around for a while before it was finally documented. Over time, a whole industry has grown around this method and you can easily find articles and YouTube videos devoted to this method….and some calling it bunk!
Lapping Films are extremely thin (3 mil) sheets polyester film coated with aluminum oxide mineral that is bound to the film using a durable resin. The polyester film may be backed with a Pressure Sensitive Adhesive (PSA) or may come without. Originally, lapping film was used mainly for processing and polishing optical fiber connectors, and in other industrial settings where precision polishing was required.
“Never talk about politics, religion or your preferred sharpening method!”
– Unknown
References to the use of lapping films for sharpening chisels or plane blades first started to appear in forums and articles in 2012. Passioned individuals on both sides debated (and continue to debate) the merits of Scary-Sharp™ vs the Old School.
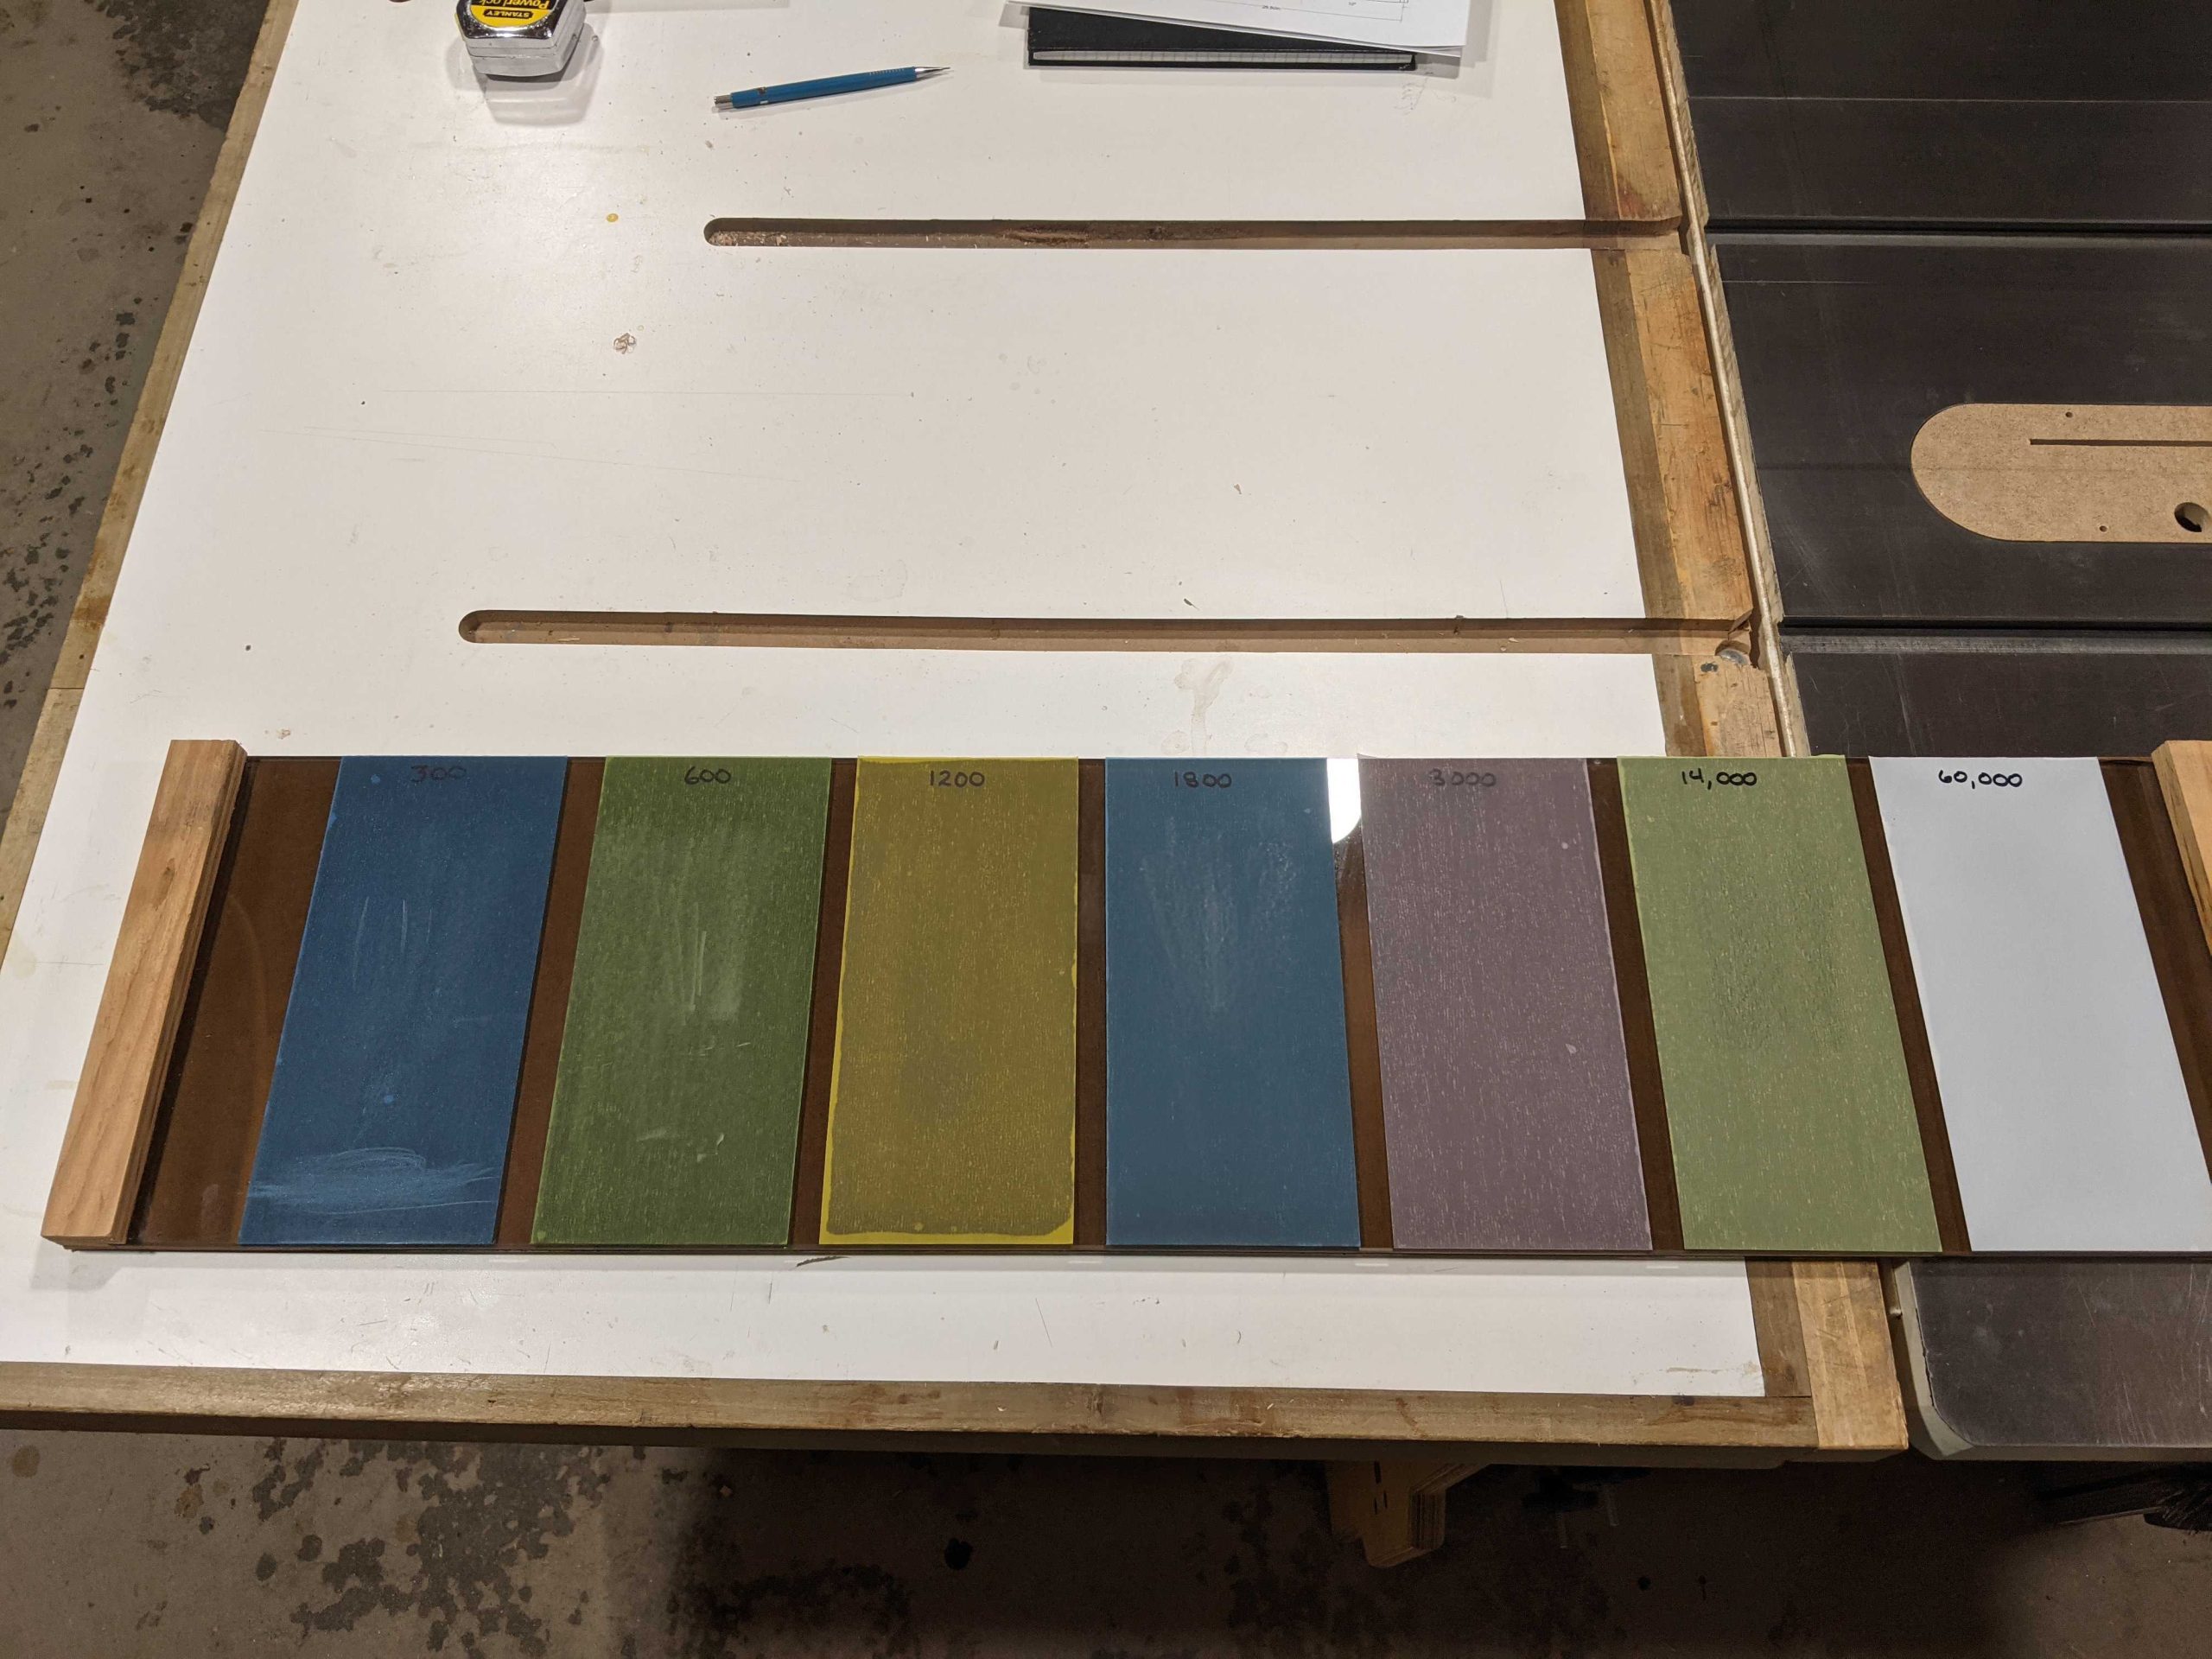
Figuring I had nothing to loose, I watched a number of YouTube videos that covered the use of lapping film with the Scary-Sharp™ method. Luckily, I already had a nice piece of float glass that I could use for this test. I took the plunge and ordered one set of 3M™ Lapping Films from an online source. The cost was $28.00 for seven (7) sheets sized 4 1/4 “X 11,” and in the following grits: 300; 600; 1,200; 1,800; 3,000; 14,000; and 60,000. I found the lapping film to be much more convenient than using wet/dry sandpaper.
At eleven inches, the films were a bit longer than my float glass was wide. I chose not to trim them until after I had attached them to the glass. Attaching them to the glass is similar to how some of the smartphone screen protectors work. I sprayed a bit of water on the glass and slowly rolled out the film, using a credit card to squeeze our any air bubbles. You quickly get the hang of it.
The picture to the right shows how they look arrayed on the float glass. As you can see, the edges of the 1,200 grit film didn’t adhere well, but it has not posed a problem during sharpening.
Once everything was dried, trimmed off the excess film and then, using a Sharpie, wrote the grit size of each sheet.
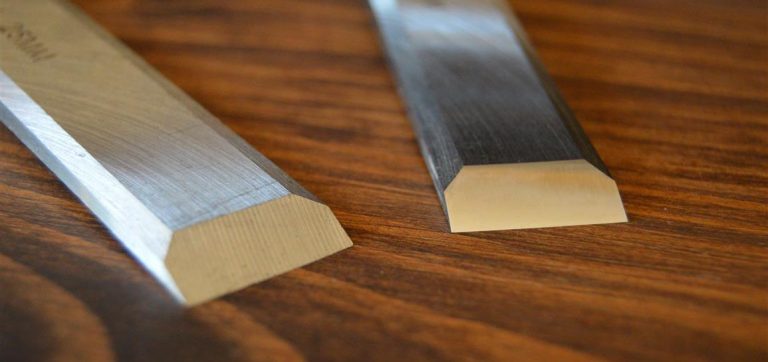
Well, in for a penny, in for a pound as they say…it was time to give this a try. I chose one of my Lie Neilson chisels that I know needed some attention. I started with the 300 grit to focus on the back of the chisel. For lubrication, I chose Windex. I know, it seems like an odd choice, but it was the recommendation offered on a number of the YouTube videos. As soon as I started working the back of the chisel, I could feel the bite from the lapping film. After ten (10) or so laps, I could see a noticeable improvement.
As a test, I ran ten laps on the back using each of the remaining grits. For the first time, I had a mirror finish. Next, I hit up the chisel’s face and used the 1,200 and 1,800 to add a micro-bevel. It was the sharpest edge I have ever been able to achieve. As a test, I broke out my Shapton Glass stones and using another LN chisel of the same size and condition, went through my normal routine, checking my progress along the way. It took me about five (5) minutes on the 500-grit Shapton stone to get the same result I achieved in less than a minute using the 600-grit lapping film. Why? I have no idea, but I can’t argue with the results.
Post-sharpening cleanup is easy. I simply use a paper shop towel to wipe down each of the grits I used. I chose to mount the float glass on a piece of 1/4″ baltic birch plywood with blocks of cherry screwed in at the bottom and top to secure the glass. I drilled two holes on one end, so I could hang the glass on the wall. This makes it easy to retrieve and put away. I been using this system now for about two (2) months and I am quite happy. Each of the grits appears to be holding up. I was happy enough that I decided to sell my collection of sharpening stones and accessories.
For me personally, using the Scary-Sharp™ method with the 3M™ Lapping Film was a win. It felt like a comfortable pair of jeans. Sharpening didn’t feel like a chore. When I tried other methods, I did my best to try to make them work for me. For whatever reason, I couldn’t. Maybe it was me. Others made it work, why not me? It’s a question that I can’t answer. I found something that works. Here are the key takeaways from my brief experience:
If you’ve decided to purchase lapping film, I would suggest that you start with Taylor Toolworks. They simply have a great selection of lapping film and are easy to deal with. You’ll also be assured that you’re purchasing genuine 3M™ film and not a knock-off.
Below are some pros and cons based on my experience:
Pros
Cons
While it’s true that successful sharpening does depend on the resources you’re using, I feel that a successful sharpening outcome also depends on the degree of confidence with which you approach the task. For me, sharpening is no longer a dreaded task. I can touch up a chisel or plane blade easily and quickly without making a mess. Best of all, my edged tools are the sharpest they have ever been.
Woodworkers can be very passionate about their preferred method of sharpening, but ultimately, the best sharpening method is the one that you find works best for you while delivering a keen edge!
This blog is meant to be entirely informational and is therefore not an endorsement of 3M Lapping Films or Taylor Toolworks. Nor is this an endorsement of the Scary-Sharp™ sharpening method.
Do you need help with a woodworking or wood-related project and don’t know where to turn? We’re here to help. Whether you’re looking for consultation and advice, want help with design options or you’re simply looking for the right selection of wood for your project, we’re more than happy to assist you. Need help when it comes to milling or other services? We can assist you with that as well.
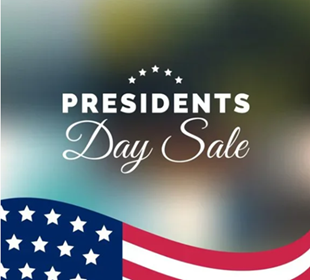
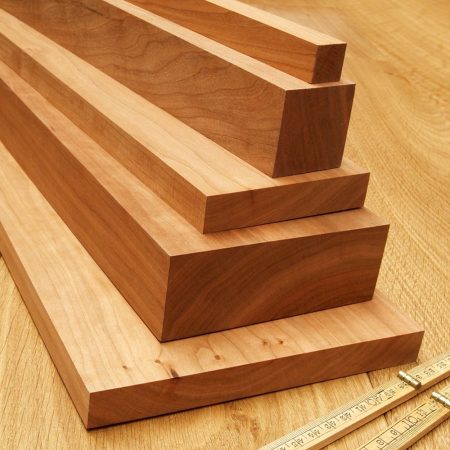
In celebration of President’s Day, our selection of 4/4 Cherry is on sale! Regular 4/4 Cherry is discounted to $3.99 bf with 8+” wide at $4.49.
Sale runs until February 24th!
** We’re open until 7 PM on Thursdays **